Procreate still lacks a native “Stroke” button. Creating sticker outlines or double-line lettering manually means juggling multiple duplicates and blurred layers. Thankfully, automated outline brushes exist. I’ve tested and hand-picked the 10 best sets that let you draw perfect borders and stroke effects instantly.
🏆 Editor’s Choice
The 4 absolute best outline and stroke packs for Procreate.

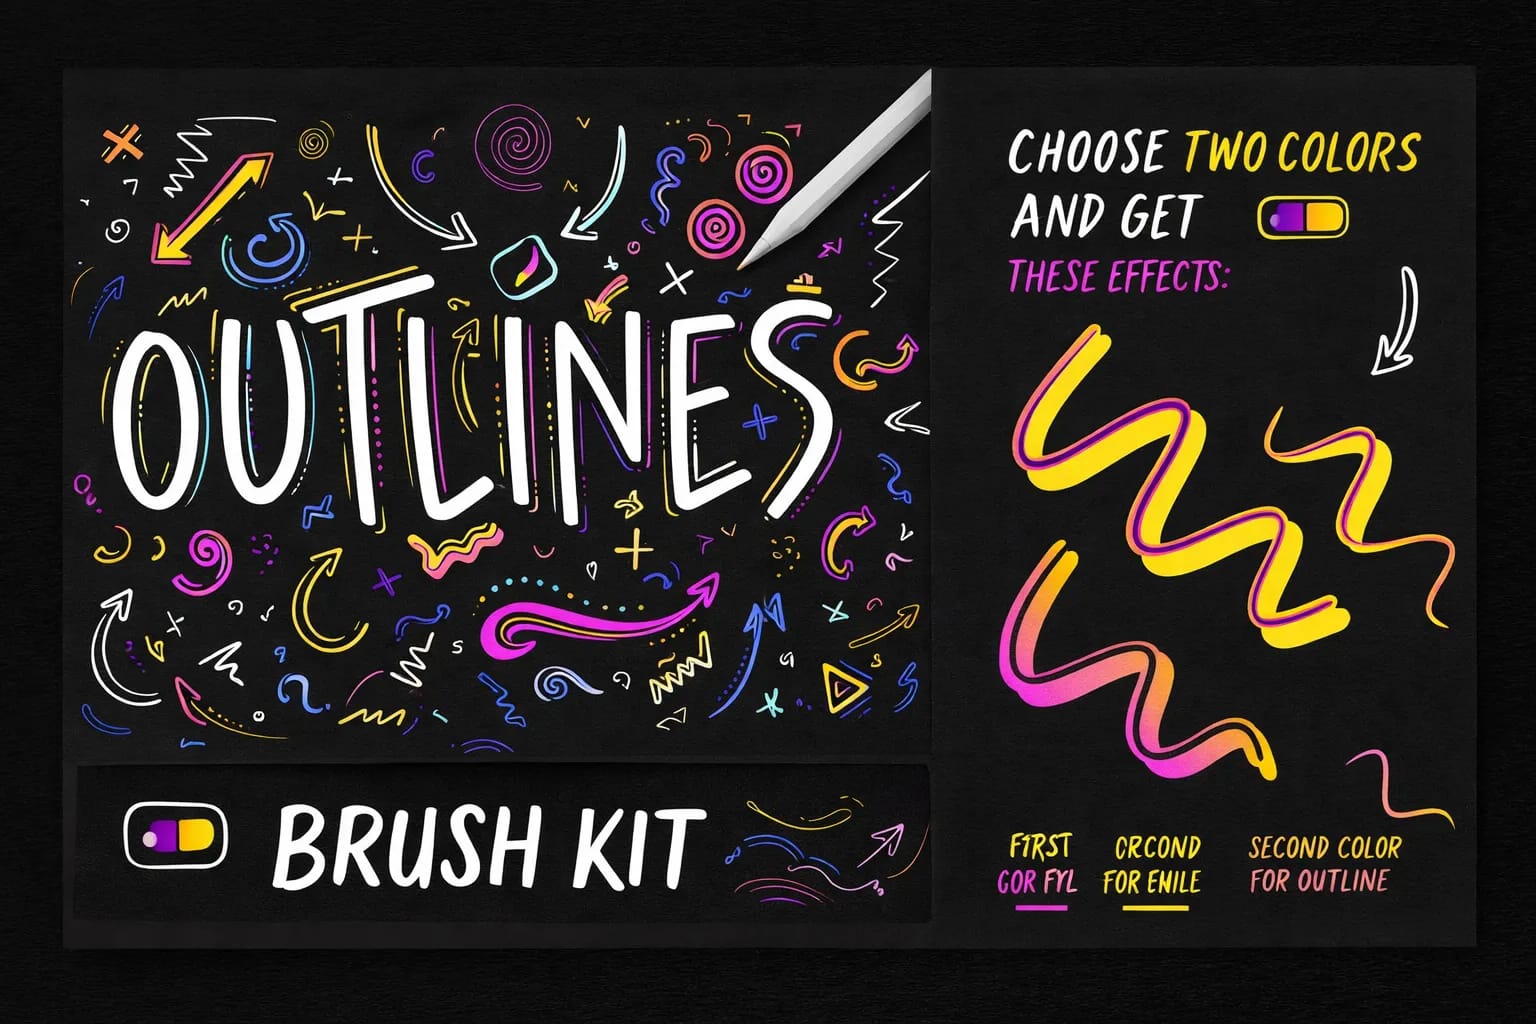
124 Outline Brushes
The ultimate toolkit. Includes solid outlines, gradients, and double-line brushes for instant sticker effects with a single stroke.
VIEW BUNDLE →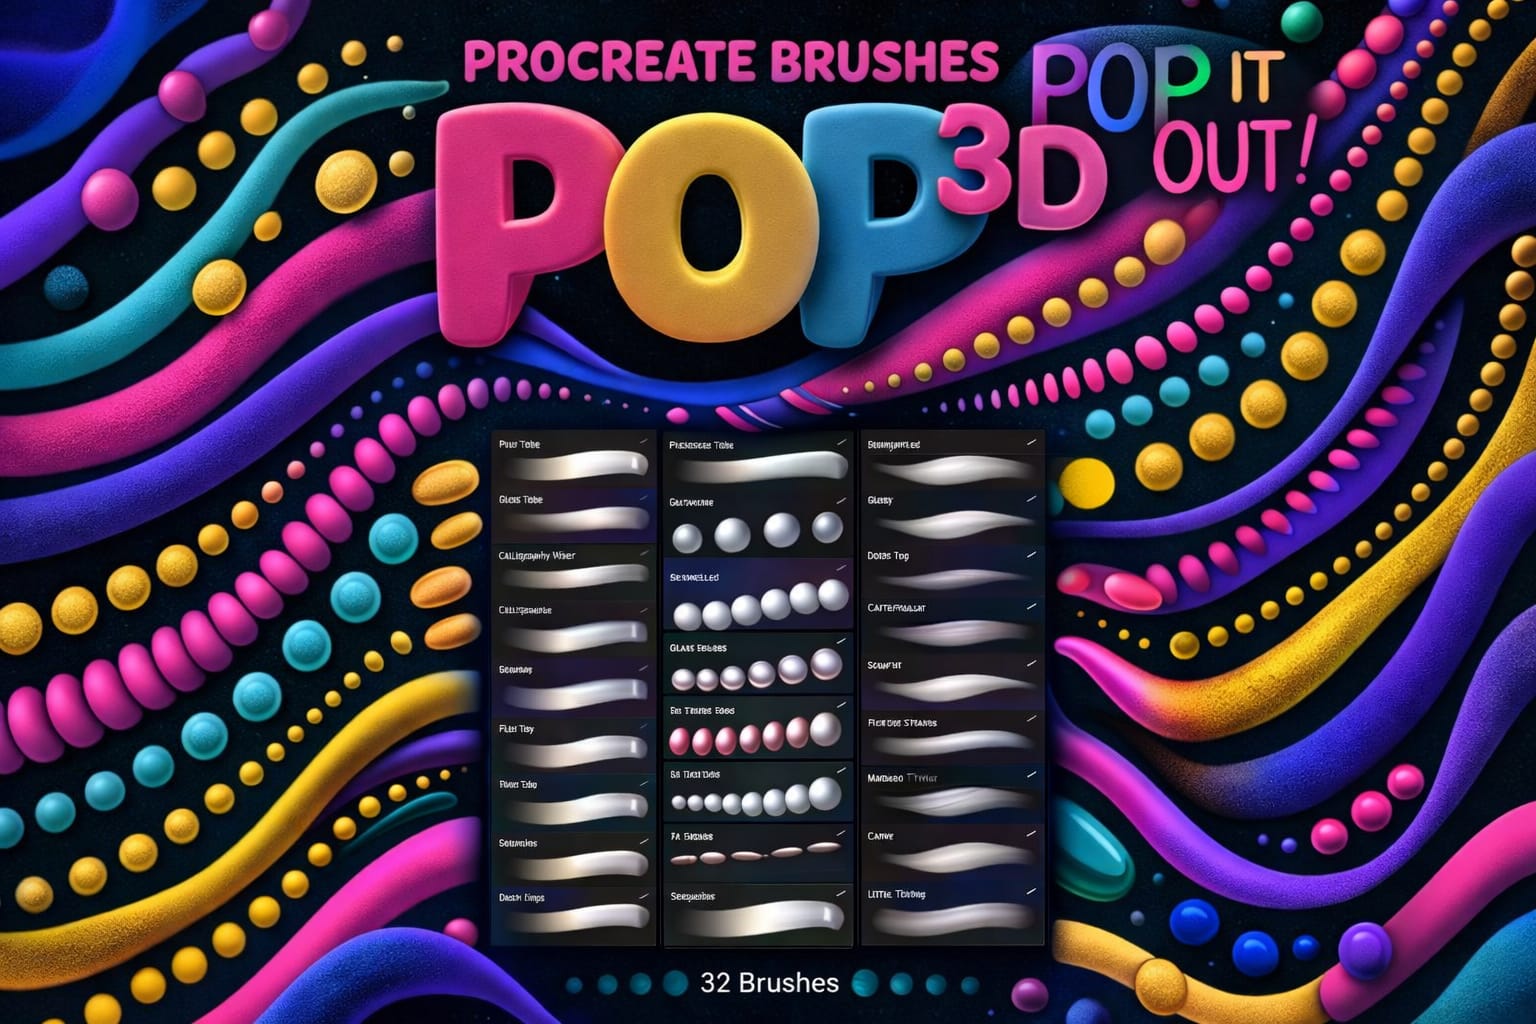
Pop! 3D Brushes
Creates instant 3D tubes and bubble letters with depth. Perfect for retro designs and satisfying modern typography.
VIEW BUNDLE →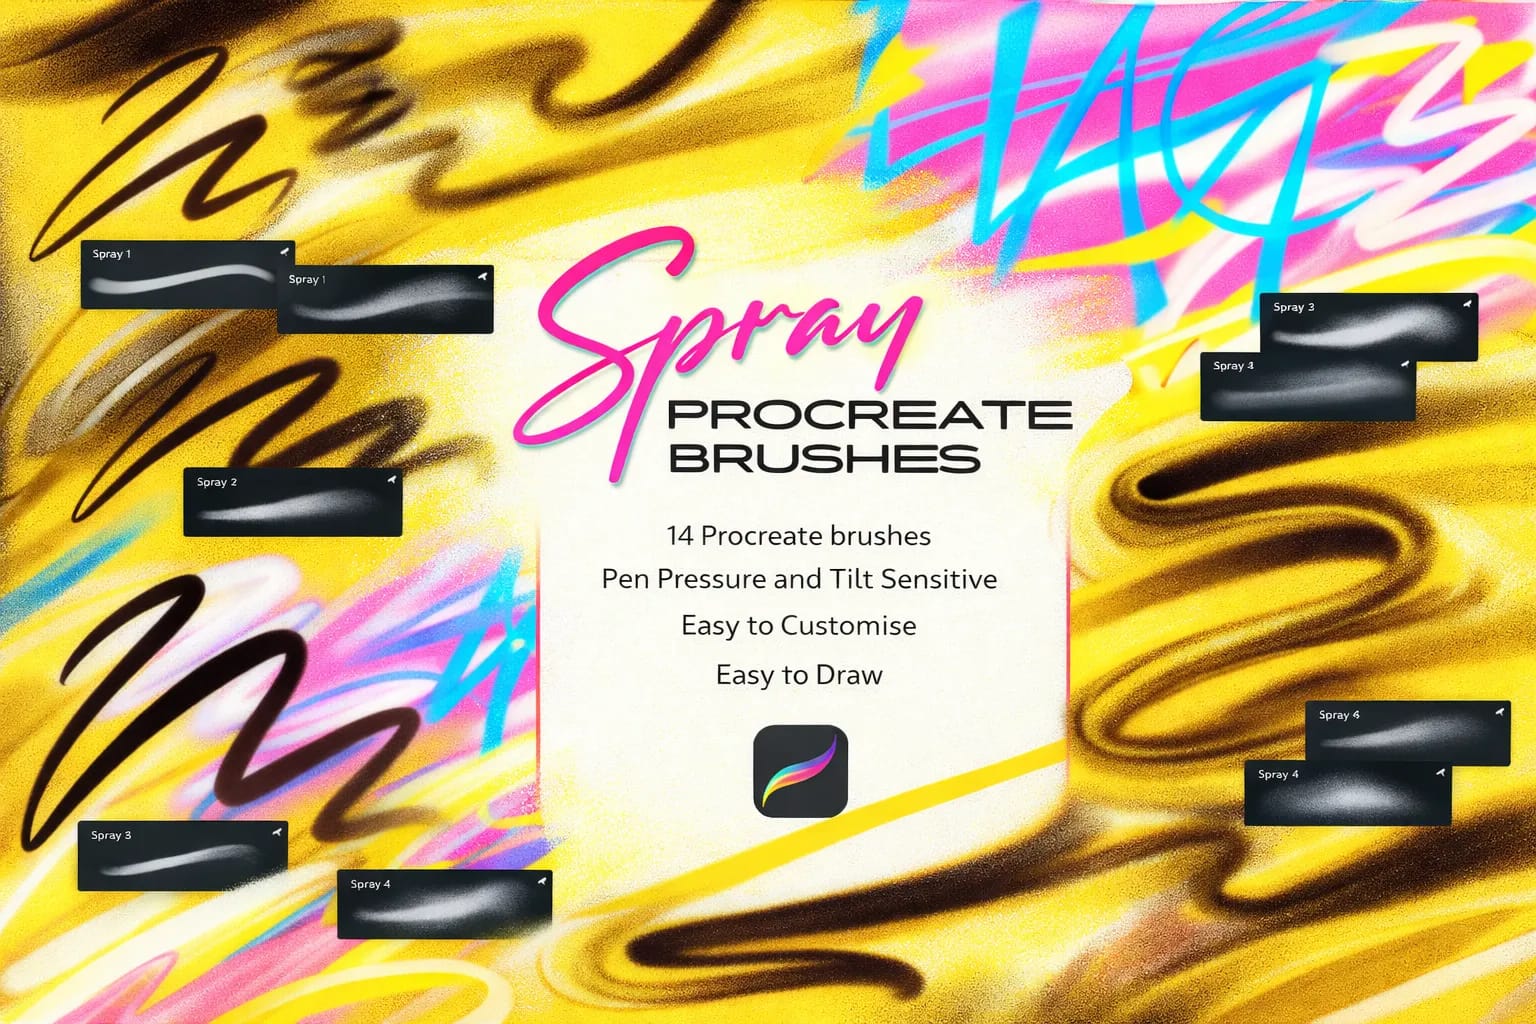
Spray Can & Outline
Authentic street art look. Features fat caps, drips, and automated spray-style outlines for urban-style illustrations.
VIEW BUNDLE →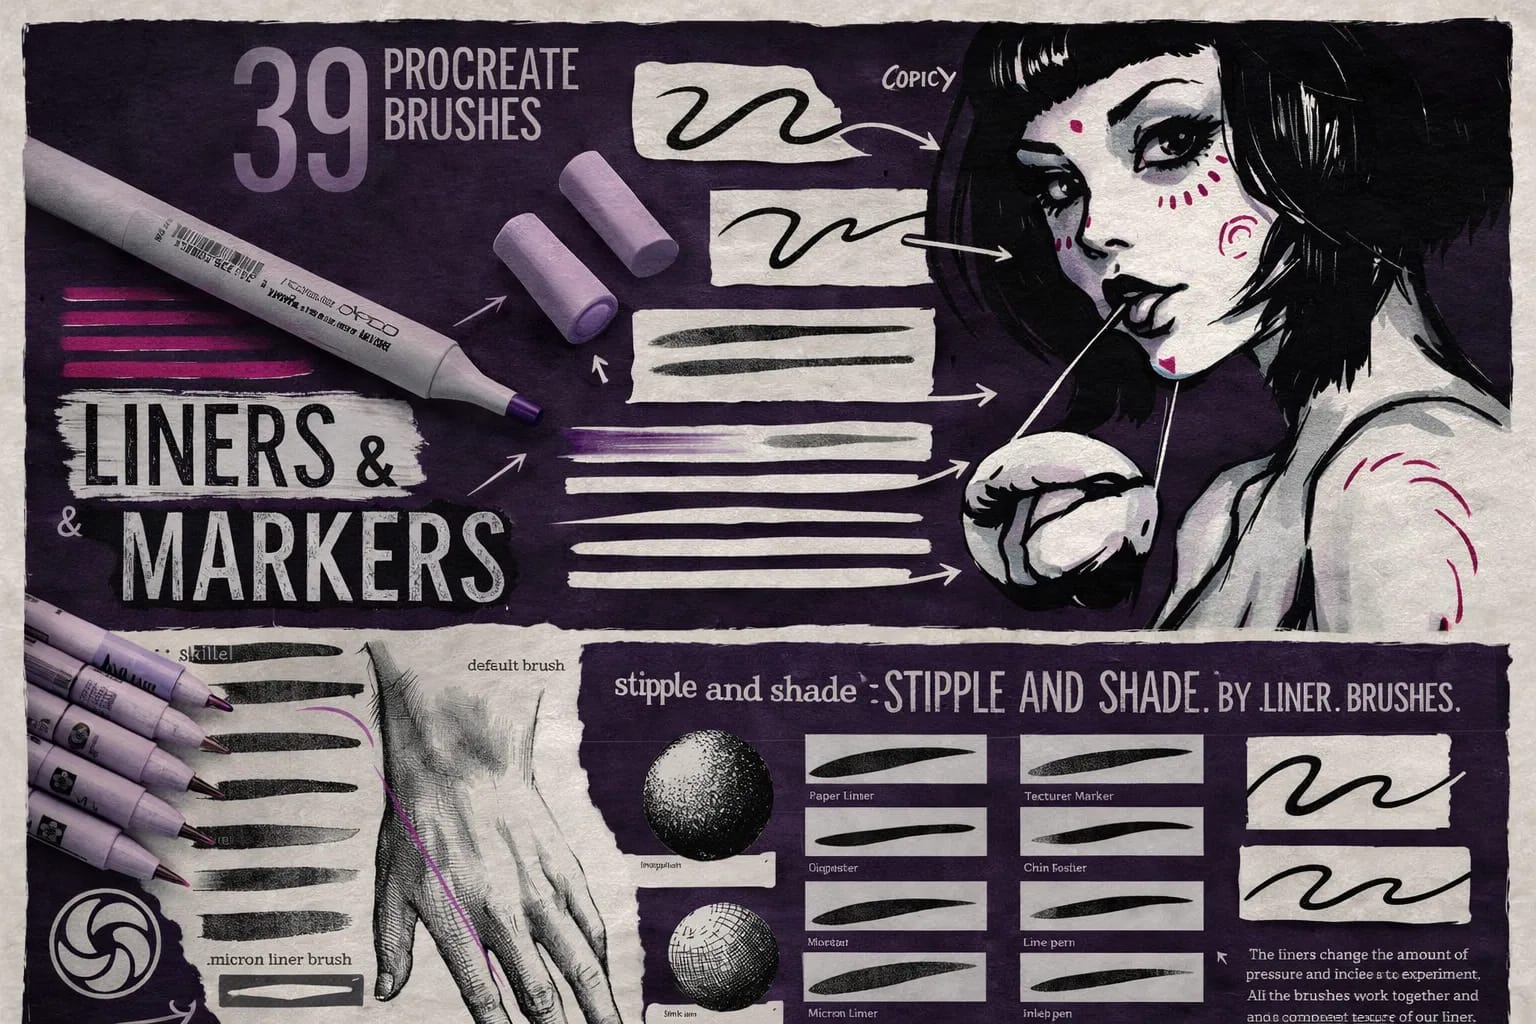
Liners & Markers
39 high-quality brushes. Best for realistic sketching, fine micron-style liners, and professional clean ink work.
VIEW BUNDLE →Download ALL Stroke & Outline Packs for Free!
Don't want to buy them individually? You can unlock every single brush set on this list immediately for $0.
Pro Tip: Sign up for the Creative Fabrica Free Trial to instantly download unlimited outlines, 3D pens, and spray brushes.
The 10 Best Procreate Outline & Stroke Brushes
Below is our fully ranked collection. I've organized these tools into logical categories—starting with massive outline bundles and 3D effects for graphic design, moving into creative dual-stroke pens, and finishing with specialized urban spray and neon effects to give your art a professional edge.
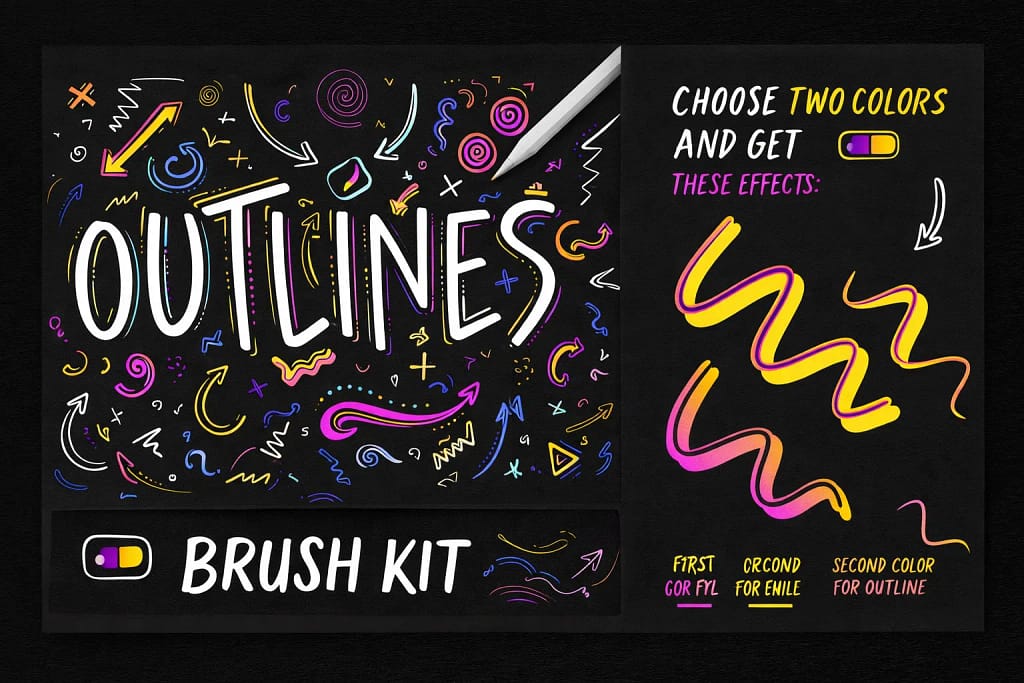
Verdict: The absolute gold standard for outlines. If you want a brush that paints the fill and the stroke at the same time (in different colors!), this is the only pack you need. It automates 90% of the work.
Why I picked it:
✅ Dual-Color Tech: Write a word once, and it instantly creates a solid fill with a perfect contrasting border. No layers required.
✅ Massive Library: 124 brushes covering everything from clean monoline borders to textured, sketchy, and gradient outlines.
✅ Pressure Sensitive: Unlike cheap free brushes, these respond to your hand, giving you thick-to-thin strokes while keeping the outline consistent.
🔒 Secure checkout via Creative Fabrica • Commercial License included
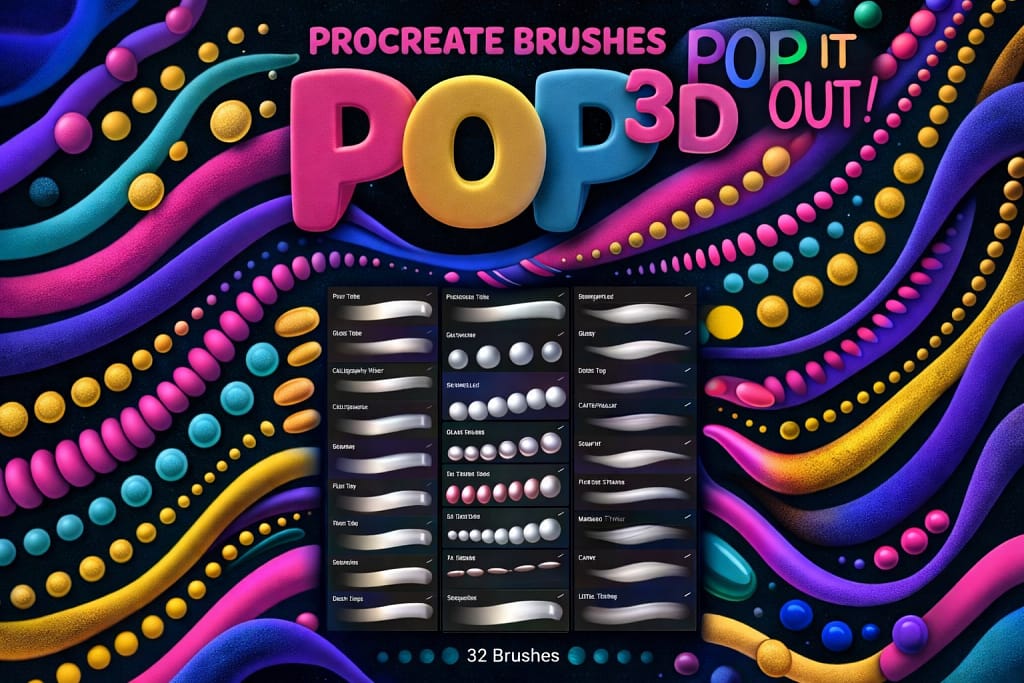
Verdict: If you want that “bubble gum” 3D look without learning Blender, this is it. These brushes paint “tubes” that automatically have highlights and shadows. It feels like cheating.
Why I picked it:
✅ Instant 3D: As you draw, the brush adds volume. You get perfect “sausage” lettering instantly.
✅ Variety: Includes 32 brushes—from clean plastic tubes to grainy, textured 3D strokes.
✅ Color Dynamics: Some brushes change hue as you press harder, creating instant psychedelic gradients.
🔒 Secure checkout via Creative Fabrica • Commercial License included

Verdict: The most realistic digital aerosol I’ve tested. It mimics everything from “fat caps” for filling to “thin caps” for detailed outlining. Perfect for tags and urban lettering.
Why I picked it:
✅ Authentic Flow: The brushes respond to pressure just like a real can—press hard for a dense, drippy line, or light for a dusty mist.
✅ Cap Variety: Includes Flat Caps, Fat Caps, and Thin Caps, giving you complete control over your stroke style.
✅ No Mess: Get all the texture of spray paint without the fumes or the need to clean nozzles.
🔒 Secure checkout via Creative Fabrica • Commercial License included
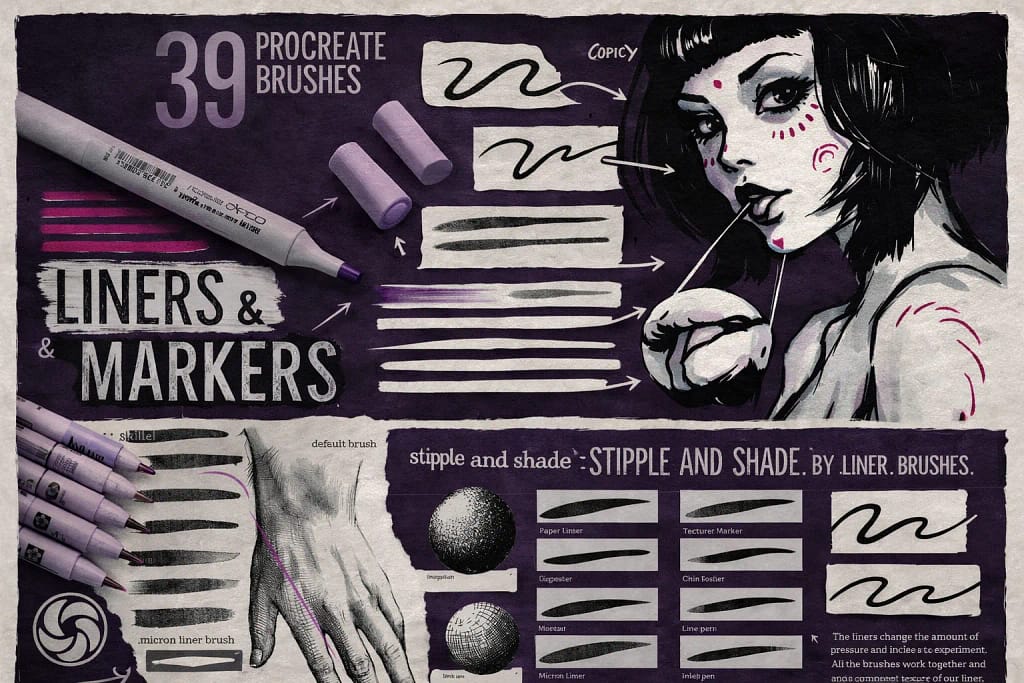
Verdict: A complete analog studio. If you miss the smell of Copic markers and the scratch of a Micron pen, this pack brings that exact feeling to your iPad. Essential for manga and architectural sketches.
Why I picked it:
✅ 39 Unique Tools: A perfect balance of sharp liners for outlines and alcohol marker brushes for coloring.
✅ Texture Overlays: The markers blend beautifully, mimicking wet ink soaking into paper.
✅ Versatile: Includes specialized brushes like “Flat Brush” and “Rough Marker” for diverse styles.
🔒 Secure checkout via Creative Fabrica • Commercial License included
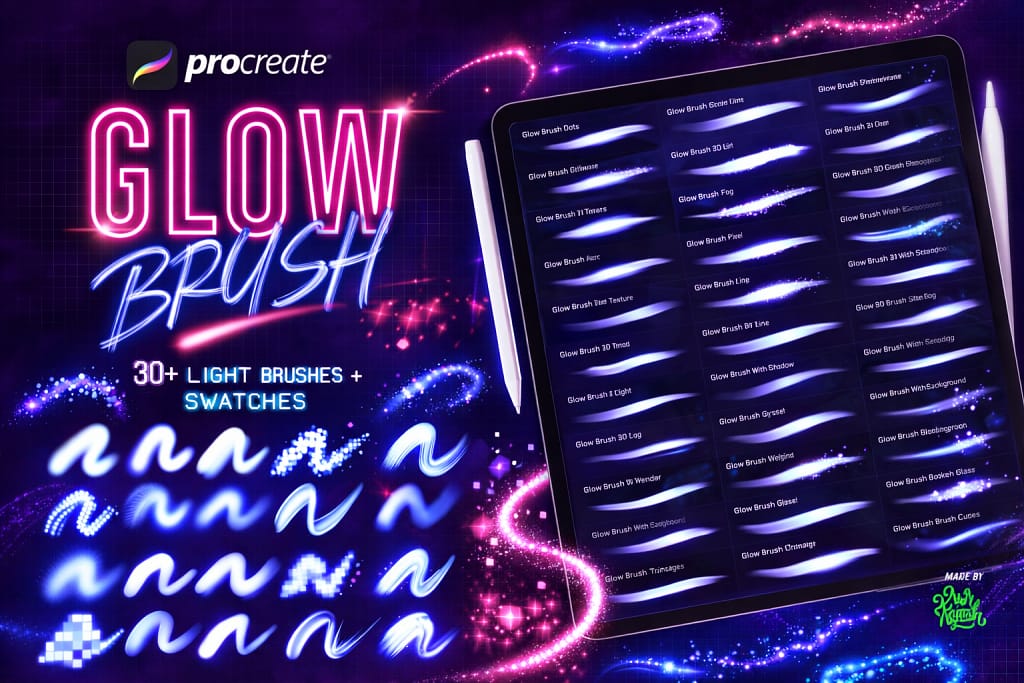
Verdict: A complete light show for your iPad. It doesn’t just do neon lines; it includes glitch effects, bokeh, and “cosmic” brushes that add atmosphere instantly. Perfect for nightlife flyers and sci-fi art.
Why I love it:
✅ Diverse FX: Goes beyond simple tubes—includes “Glitch”, “Thorn”, and “Crystal” brushes for unique textures.
✅ Smart Swatches: Comes with pre-made color palettes optimized for glow effects (hot pinks, acid greens).
✅ No-Brainer: Even beginners can draw a simple line and make it look like a high-end VFX shot.
🔒 Secure checkout via Creative Fabrica • Commercial License included

Want this $47 Bundle for FREE?
Start a Free Trial on Creative Fabrica and get this Mega Bundle for $0 right now.
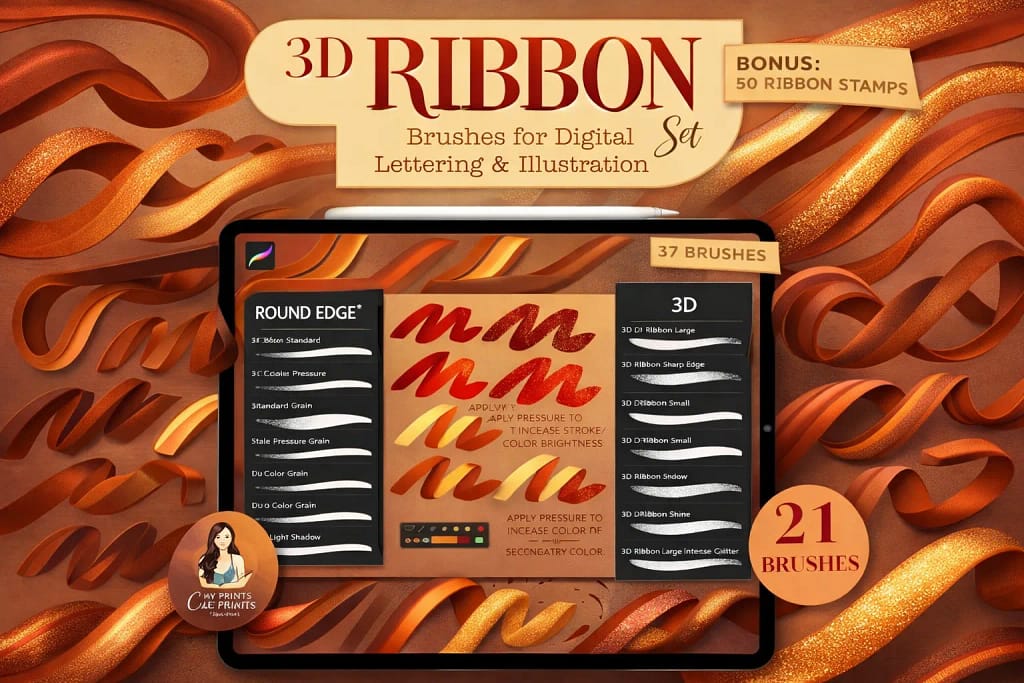
Verdict: The best hybrid pack. You get brushes that paint realistic 3D ribbons as you draw (great for lettering), plus 50 pre-made stamps for instant decoration. The texture quality is top-tier.
Why I love it:
✅ True 3D Effect: The brushes automatically add shadows and highlights, making the ribbon look like it’s twisting in space.
✅ Massive Bonus: Comes with 50 stamps (bows, knots) that you can paste instantly if you don’t want to draw them manually.
✅ Pressure Sensitive: Control the width and twist of the ribbon simply by pressing harder with your Apple Pencil.
🔒 Secure checkout via Creative Fabrica • Commercial License included
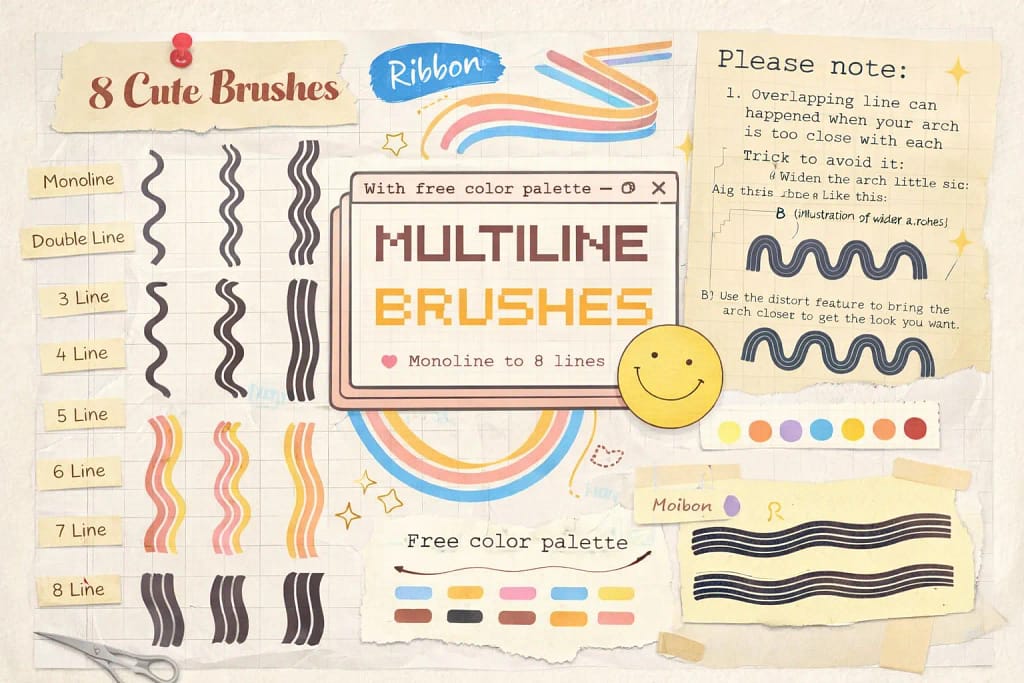
Verdict: The fastest way to get that groovy 70s look. One stroke draws 3, 4, or 5 parallel lines instantly. It’s perfect for creating retro logos or rainbow typography without manually spacing every line.
Why I love it:
✅ Perfect Parallelism: Trying to draw 5 parallel curves by hand is a nightmare. This brush keeps them mathematically perfect every time.
✅ Monoline Style: The lines are clean and consistent, making them ideal for logo work or sticker designs.
✅ Variety: Includes different setups (3 lines, 5 lines, thick/thin combos) to match any vintage aesthetic.
🔒 Secure checkout via Creative Fabrica • Commercial License included
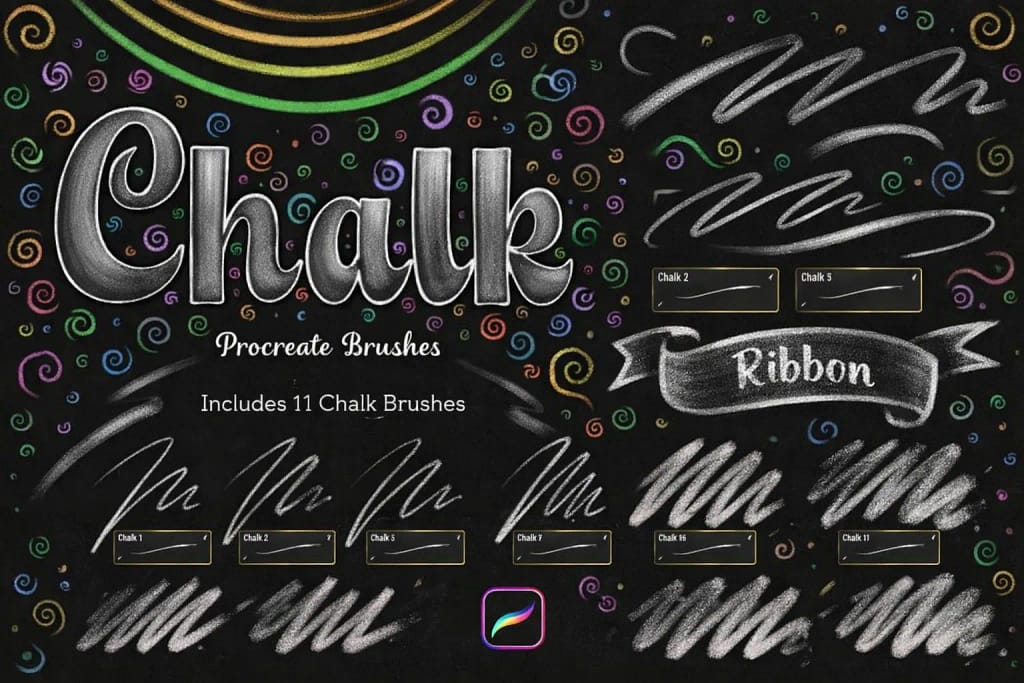
Verdict: The dustiest, crunchiest chalk brushes out there. Perfect for menu boards, wedding signage, or just adding a hand-made feel to digital art. The texture is so real you can almost feel the powder.
Why I love it:
✅ Pressure Sensitive: Press lightly for a faint, dusty trail, or hard for a solid, opaque chalk line.
✅ Smudge Ready: These brushes work beautifully with the Smudge tool to create realistic “erased” effects or soft gradients.
✅ 20 Variations: From sharp, broken pieces of chalk to soft, broad strokes for filling large areas.
🔒 Secure checkout via Creative Fabrica • Commercial License included
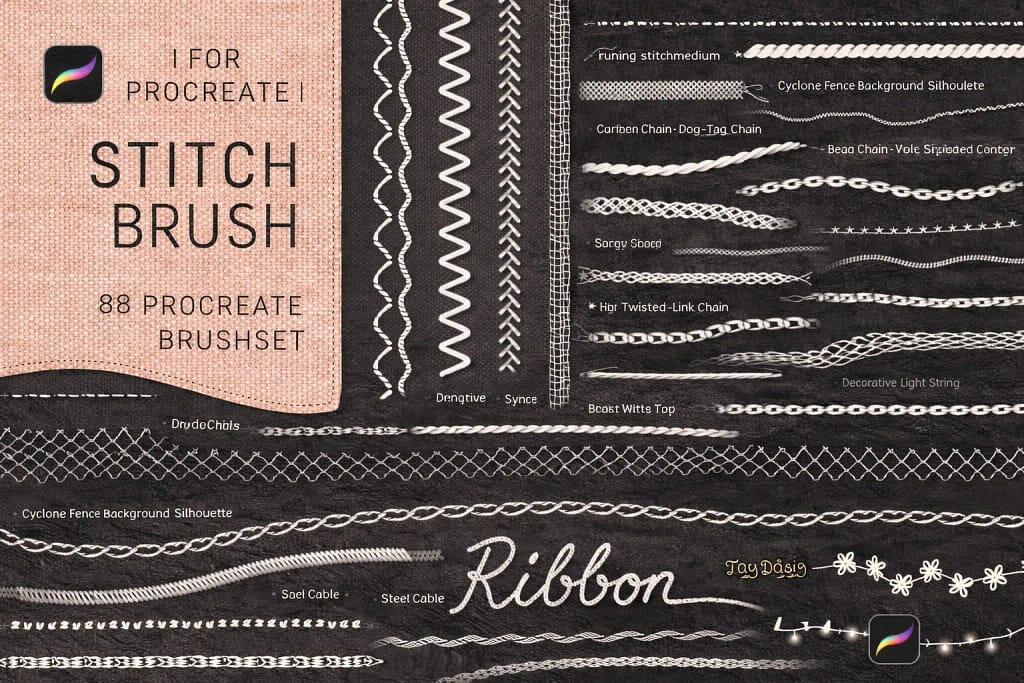
Verdict: If you draw clothes, toys, or fabric textures, this is a must-have. It turns a simple line into a realistic seam, zig-zag stitch, or embroidery pattern instantly.
Why I love it:
✅ Follows Direction: Unlike static stamps, these brushes rotate with your stroke, so the stitches curve naturally around corners.
✅ 88 Options: A huge library covering everything from basic running stitches to complex cross-stitch and denim seams.
✅ Patch Effect: Combine it with a fabric texture to create realistic digital “patches” or “embroidery” art.
🔒 Secure checkout via Creative Fabrica • Commercial License included
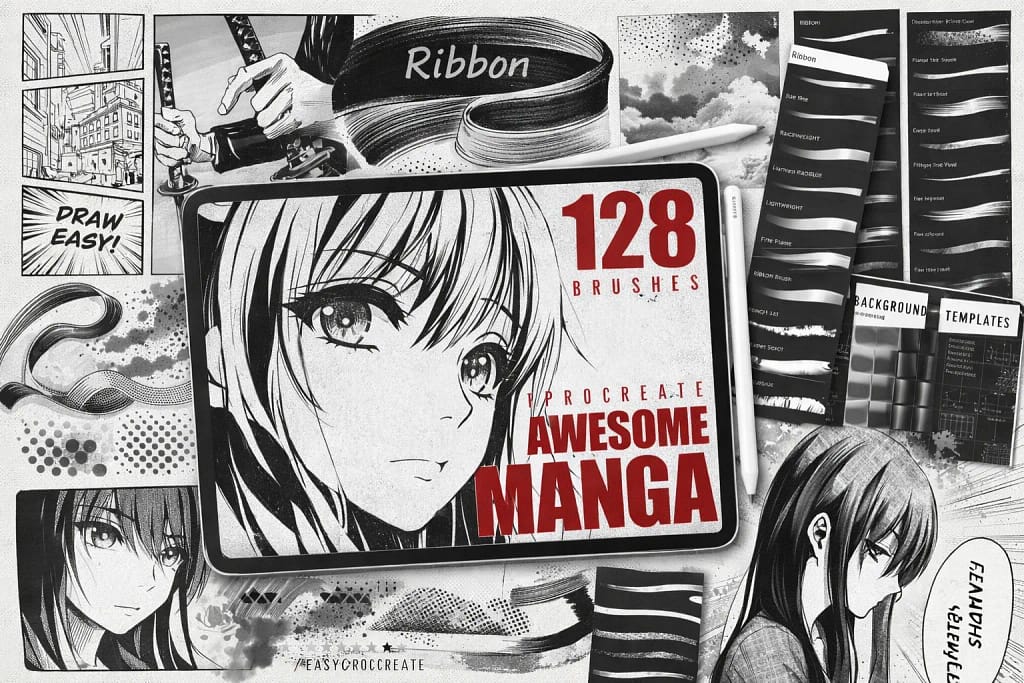
Verdict: The ultimate toolkit for aspiring comic artists. It’s not just inkers; it includes screentones, action lines, and pattern brushes that replicate the look of printed manga instantly.
Why I love it:
✅ 128 Assets: A massive collection. You get G-Pen emulators for inking and textured brushes for shading backgrounds.
✅ Halftones Included: No need to buy a separate pack for those classic “dot” shading effects; they are built right in.
✅ Speed Lines: Create dramatic action scenes with “Focus” and “Speed” stamp brushes that save you hours of ruling lines.
🔒 Secure checkout via Creative Fabrica • Commercial License included
Want to Master Hand Lettering?
We’ve curated a dedicated collection just for typography lovers. Discover essential grids, 3D glitter effects, and stabilization toolkits to perfect your strokes.
View the 16 Best Lettering Sets →FAQ
The most common way to create a stroke outline effect is the Gaussian Blur method. Duplicate your object layer, turn on "Alpha Lock" on the bottom layer, and fill it with your outline color. Then, remove Alpha Lock, apply a slight Gaussian Blur, and use the "Selection Tool" on Automatic setting to expand the fill until it creates a solid outline border.
To outline text, first tap the layer and select Rasterize to turn it into pixels. Then, duplicate the text layer and select the bottom copy. Tap it, turn on Alpha Lock, and fill it with the outline color. Finally, use Gaussian Blur (around 5-10%) and the Automatic Selection tool to expand the color into a visible stroke around the letters.
Procreate does not have a native "vector stroke" tool or a single button to outline. However, you can use specialized Monoline brushes to manually draw outlines, or download custom "Outline Brushes" (often available in dual-brush sets) that draw the stroke and the fill simultaneously.
To create a white sticker border, draw your illustration on one layer. Duplicate it, select the bottom layer, and fill it with pure white. Apply Gaussian Blur to blur the edges, then use the Selection Tool (Automatic). Tap and drag right to expand the selection until the blur becomes a hard, solid white edge, creating the perfect die-cut sticker look.
Unlike Photoshop, Procreate does not currently have a "Stroke Path" feature in its Edit menu. To achieve this effect, you must use workarounds like the Gaussian Blur technique, using the Feather selection method, or manually tracing your artwork using a streamlined inking brush on a layer underneath your subject.
